How to Fix a Leak Under the Kitchen Sink: Step-by-Step Solutions
Dealing with a leak under your kitchen sink can be frustrating, but fear not – we’ve got you covered! In this guide, we’ll walk you through simple steps to tackle this common household issue. From identifying the source of the leak to implementing effective solutions, we’ll equip you with the knowledge and tools needed to resolve the problem swiftly. No need for panic or expensive professional help – with our practical tips, you’ll have that pesky leak fixed in no time.
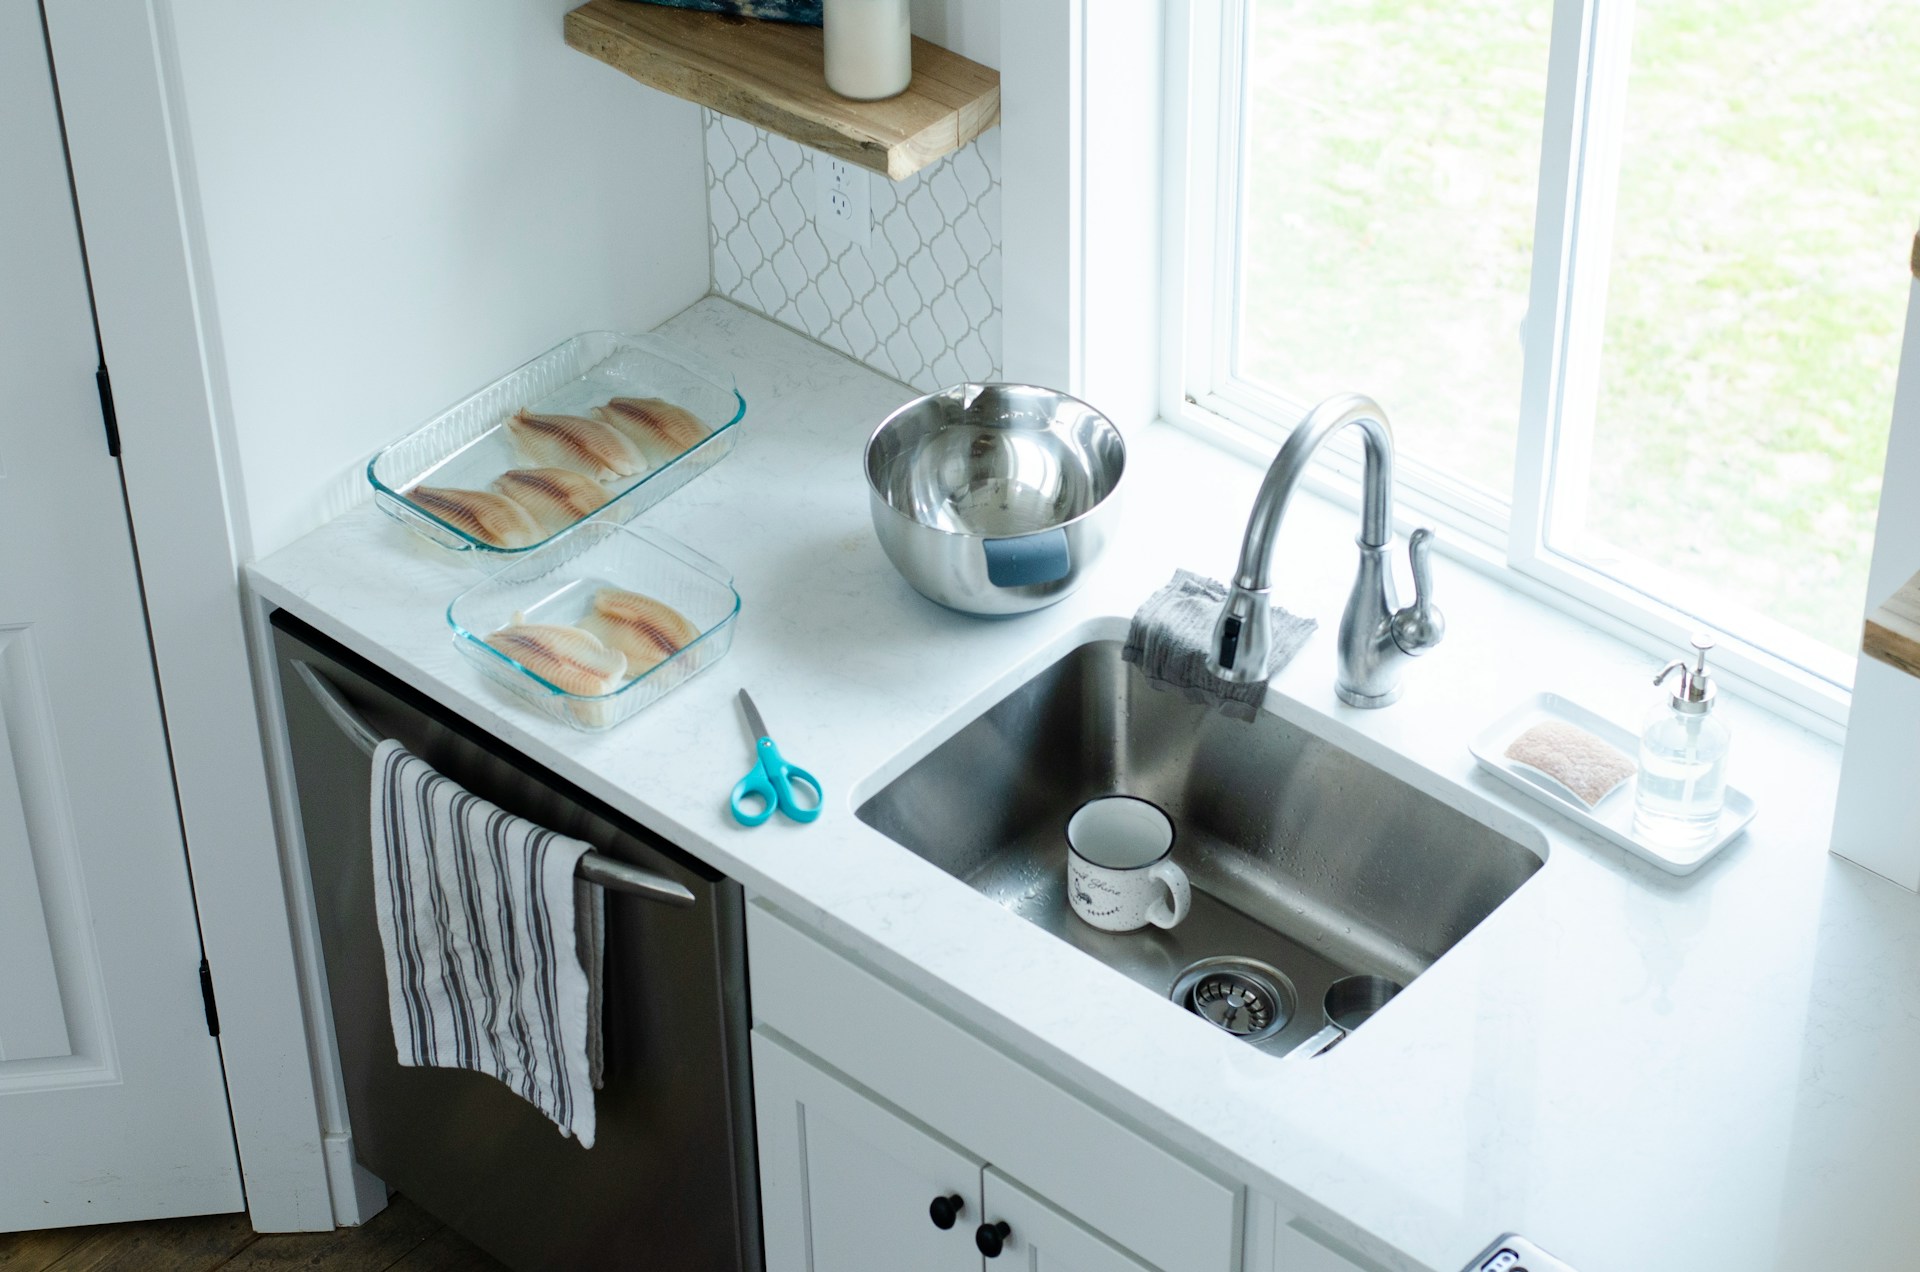
Identifying the Leak
Identifying the source of the leak is crucial. Start with an initial inspection by checking for visible water around the pipes, signs of mold or mildew, and any water damage inside the cabinet. This will help you pinpoint where to focus your repair efforts.
Next, determine the water source of the leak. Is it coming from the faucet, drain pipes, or supply lines? By identifying this, you can narrow down your search and address specific components causing the issue.
After identifying potential sources, locate the exact point of leakage to understand its origin accurately. Check if it’s coming from P-trap or garbage disposal unit – this will help in addressing whether there’s a need for pipe replacement or simple repairs.
Lastly, discern whether it’s a slow drip, continuous flow, or sudden gush of water. Understanding leak type is essential as different types may require different approaches when fixing them.
Preparing for Repair
It’s crucial to take safety measures before starting any repair work. First, locate the shut-off valves for both hot and cold water supply lines connected to the sink. Turn off these valves to prevent further leakage and potential flooding in your kitchen. Wearing gloves is essential to shield your hands from dirty water and sharp edges while working on the pipes. Moreover, ensure proper ventilation in the area by opening windows or using a fan to avoid inhaling any unpleasant odors or fumes.
Next, gather all the necessary tools for fixing the leak under your kitchen sink. You’ll need adjustable wrenches for tightening fittings and a pipe cutter if you have PVC or metal pipes that require cutting during repairs. Also, keep a bucket handy along with rags for cleaning up spills as you work through repairing the leak.
Before beginning any repair work under your sink, it’s important to prepare by clearing out items stored beneath the sink. This will provide better access and maneuverability around the leaking pipes during repairs. Wipe down any standing water inside the cabinet using towels or rags before proceeding with cleaning any debris or gunk around the assembly of pipes causing leaks.
Tightening Connections
. For slip joints, use an adjustable wrench to tighten slip nuts securely. Check for worn-out washers in slip joints and replace them if necessary. To prevent future leaks, apply plumber’s tape to the threaded areas of the pipes before reconnecting.
In compression fittings, carefully inspect for any cracks or damage. Use a wrench to tighten compression nuts securely while ensuring not to overtighten and cause damage. If needed, replace old ferrules with new ones for a better seal and secure connection. This helps prevent water from seeping out at these points.
For hose clamps, ensure they are properly positioned on hoses and tightened using a screwdriver as needed. If any hose clamps appear rusty or damaged, replace them with new ones that can provide a tight seal around the hoses without causing leaks.
Sealant Application
Sealant application is crucial. One effective method is using plumber’s putty. This pliable substance can be applied around sink strainers and faucets to create a watertight seal. After applying the putty, remember to remove any excess for a clean, professional finish.
Another useful option for sealing leaks is Teflon tape. By wrapping this tape around threaded pipe ends in a clockwise direction, you can effectively prevent leaks at pipe connections. Be cautious not to over-wrap the Teflon tape as this may lead to potential leaks instead of preventing them.
silicone caulk can be utilized to address leaks under the kitchen sink. Applying silicone caulk along seams of sink edges and around fixtures and pipes helps seal gaps and prevent water from seeping through. It’s important to smooth out the silicone caulk during application for both functionality and aesthetics.
To summarize, when dealing with a leak under your kitchen sink, consider utilizing plumber’s putty, Teflon tape, or silicone caulk as effective solutions for addressing different types of leaks.
Pipe Replacement
When dealing with PVC pipes, ensure to tighten the PVC fittings by hand first, and then use pliers gently for an extra snug fit. Before applying cement and primer, it’s crucial to clean the PVC pipe ends thoroughly. After applying the cement, allow it to set completely before turning on the water to check for leaks.
For metal pipes, use a pipe wrench to securely tighten metal pipe connections. In case of small leaks in metal pipes, consider using epoxy putty as a temporary fix. However, closely monitor the metal pipes after repairing any leaks to ensure that they are holding up well.
When working with flexible hoses, carefully tighten any loose connections without over-tightening them. To reinforce weak spots on flexible hoses, consider using hose clamps for added strength and stability during installation. It is important to avoid bending or kinking flexible hoses during installation as this can lead to future leaks.
Remember that each type of material requires different handling when replacing or fixing leaks under the kitchen sink.
Gasket and Washer Fixes
Addressing issues with rubber gaskets, fiber washers, and O-rings is crucial. For rubber gaskets, ensure they are properly positioned to create an effective seal. Regularly cleaning and lubricating them prevents drying out, but if they’re worn-out, replacement may be necessary.
Similarly, for fiber washers, tightening them evenly helps avoid uneven pressure points that could lead to leaks. Keep an eye out for signs of wear and tear over time. It’s also essential to use properly sized fiber washers for effective sealing.
As for O-rings, correct positioning within their grooves is vital for a tight seal. Regularly inspect them for any signs of deterioration or damage. Make sure the O-rings are compatible with the specific plumbing materials used.
Testing for Leaks
Testing for leaks is crucial to ensure the effectiveness of your repairs. After addressing any gasket and washer issues, you can proceed with conducting dry, water, and pressure tests.
To perform a dry test, allow all repaired areas to completely dry before testing them with water again. Clean up any excess moisture and carefully inspect all repair areas visually before proceeding with the dry test. This ensures that no additional leakage occurs once water is reintroduced.
For a water test, slowly turn on the water after completing repairs to check for leaks immediately. Monitor all repaired areas closely as you conduct a water test and look out for any new leaks that may appear during this process. This immediate check helps in identifying any overlooked or newly developed leaks.
Conducting a pressure test involves gradually increasing water pressure while observing repaired areas. The objective is to make sure that all repairs can withstand normal water pressure levels without leaking. This step is essential in ensuring the long-term effectiveness of the fixes made under the sink.
Preventing Future Leaks
Regularly checking the area under your kitchen sink is crucial in preventing future leaks. By scheduling routine inspections every few months, you can catch any early signs of potential leaks before they escalate into major issues. Simple checks like looking for water stains, dampness, or drips can help you identify and address problems promptly.
Proper usage of your plumbing fixtures and components is essential for maintaining a leak-free kitchen sink. Avoid over-tightening fittings as this can cause damage and lead to leaks over time. Following manufacturer guidelines when using chemical cleaners near plumbing fixtures will also prevent unnecessary wear and tear on the materials, extending their lifespan.
In addition to regular DIY checks, it’s important to invest in professional maintenance for your kitchen plumbing system. Hiring a professional plumber annually to inspect your pipes, fittings, and connections can help catch potential issues early on. They can provide expert advice on maintaining your kitchen plumbing system effectively.
When to Call a Professional
Persistent leaks under the kitchen sink can be indicative of more severe underlying issues. It’s crucial to thoroughly investigate persistent leaks to identify their root causes. For instance, a slow drip might seem insignificant, but it could lead to mold growth or even structural damage over time. By addressing persistent leaks promptly, you can prevent extensive and costly damage in the long run.
If you encounter complex plumbing issues while attempting to fix a leak under the kitchen sink, it may be time to seek professional assistance. Some complex problems require specialized tools and expertise that only a professional plumber can provide. Knowing when to call in a professional can save you time and prevent further damage by ensuring that the issue is addressed correctly from the start.
In emergency situations such as sudden pipe bursts or uncontrollable leaks, knowing where your main shut-off valve is located is crucial for preventing water damage. Having contact information readily available for emergency plumbing services will enable quick access to professional help when needed most. Emergency situations often demand quick thinking and decisive action; therefore, being prepared with essential contacts and knowledge of your home’s infrastructure is vital in these scenarios.
Summary
You’ve now got the know-how to tackle that pesky leak under your kitchen sink. From identifying the issue to testing for leaks, you’ve learned the steps to take. Remember, prevention is key! Regularly check those connections and don’t forget to call in the pros if things get out of hand. Now, go show that leak who’s boss!
Don’t let a little leak dampen your spirits. Get those pipes fixed and enjoy a leak-free kitchen! Happy repairing!
Frequently Asked Questions
How can I identify the source of a leak under my kitchen sink?
To identify the leak, start by drying the area and then running water to locate the origin. Check for dripping or pooling water and inspect pipes, connections, and faucet bases for signs of moisture.
What are some common causes of leaks under the kitchen sink?
Common causes include loose connections, worn-out seals, damaged pipes, and faulty gaskets. Identifying these issues can help you determine which specific repair method is needed.
Can I fix a minor leak under my kitchen sink myself?
Yes, if it’s a minor issue like a loose connection or small sealant gap. However, always prioritize safety and be cautious when dealing with water-related repairs to avoid exacerbating the problem.
When should I consider calling a professional to fix a leak under my kitchen sink?
If you’re unsure about how to proceed with repairs or if you notice significant damage such as corroded pipes or extensive leakage, it’s best to seek assistance from a professional plumber.
How can I prevent future leaks under my kitchen sink?
Regularly inspecting your plumbing system for any signs of wear and tear is crucial in preventing future leaks. Being mindful of what goes down your drain can also help maintain your plumbing system’s integrity.