When And How To Wrap Brisket In Butcher Paper
Cooking a brisket is an art form. It is a process of painstakingly slow-smoking (or slow cooking) a large, characteristically tough cut of meat until it transforms into a melt-in-your-mouth masterpiece.
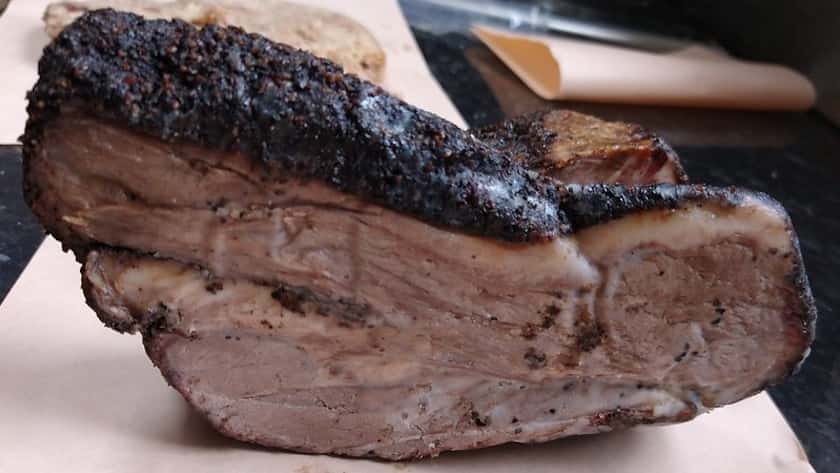
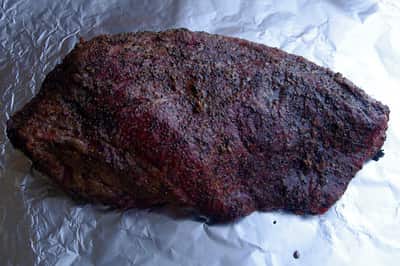
The finished product will be moist and tender, with a delectable crust (also known as the “bark”), and a beautiful red smoke ring permeating the outer portions of the meat.
One way to achieve that tender, juicy delicacy is by wrapping your brisket.
But when, exactly, should that be done? The short answer is, that if you choose to wrap, it should be done when the brisket hits the stall, usually between 150o F and 170o F.
And what is the “stall”? Well, let’s get down to the meat of the matter to answer that, with a little Brisket 101.
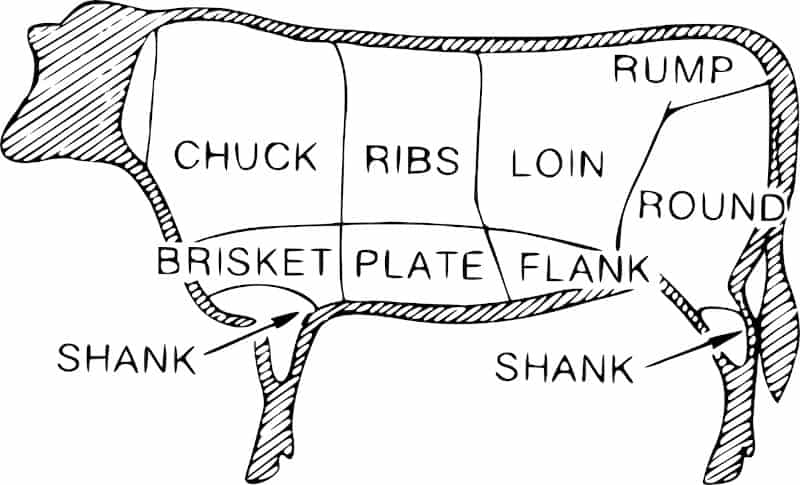
Anatomy of a Brisket
The brisket comes from the pectoral muscle of a cow. Each cow has two of these chest muscles running between its forelegs. These muscles are boneless—cows don’t have collarbones—and so, by nature are fairly tough, due to the heavy load they must carry.
This also means that there really isn’t very much marbling, which is the fat that makes a cut of meat tender. Instead, this cut has lots of spongy connective tissue.
A whole brisket, also known as a “packer” brisket, is actually made up of two smaller pieces, the pectoralis profundus, and the pectoralis superficialis.
The pectoralis profundus is more commonly referred to as “the flat”, and is long, flat, and rectangular. It is the leaner of the two, and the end sometimes comes to a point, or narrows to form a triangular shape. You may hear a butcher refer to this piece as the “first cut”.
The pectoralis superficialis, also know as the “the point”, is narrower and thicker than its neighbor. This oval shaped cut is usually fattier, with more marbling, and therefore, more tender and flavorful.
A butcher may refer to this one as the “second cut”, or “deckle”. Just to clarify here, the “flat” has a pointy end, and the “point” is oval shaped. Go figure.
This giant hunk of beef (a whole packer brisket averages around 12 pounds) can be cooked as is, or the two muscles can be separated, and will cook much more evenly.
Choosing the Right Brisket
When choosing a brisket, there are a few things to keep in mind. Firstly, the bigger the the brisket, the tougher it is likely to be. This is because the bigger ones are from older cows, and the muscles have been worked longer.
Secondly, look for one that is “floppy”. The softer and more yielding a brisket is, the less of the tough connective tissue there will be.
In addition to size and consistency, there are also different grades to choose from.
- Select: This grade has the least amount of fat and is firmer. Avoid this cut if you plan on entering your brisket in a competition.
- Choice: This is the most common grade available, and most commonly used for competitions. It has more marbling than lesser grades. Not all Choice grade briskets are created equal, though, so it’s still important to look at size and marbling when choosing.
- Prime: This is the highest marked of the Choice cuts, with still more marbling, and a softer feel.
- CAB: Certified Angus Beef is the highest grade offered by the USDA. This beef has excellent marbling, very tender, juicy, and flavorful.
- Wagyu: This very pricey option is often called the “American Kobe” beef. It is actually not a USDA grade. It is a completely different breed of cow from Japan, where a different grading system is used. It is more marbled and luxurious, but can cost as much as 5 times their Made-in-the-USA counterparts. These also tend to cook a little faster, and can be tricky to master.
The grade of beef you choose will have an impact on the timing of the stall. Higher grades with more marbling will naturally have more moisture.
The greater volume of rendered fat means the entire entity will need to get a bit warmer before evaporation starts to occur, meaning that higher grades of meat may not stall until they get to the 160o F to 170o F range.
The lower grades of beef will usually see that process begin closer to 150oF.
The Fat Cap
Although there is much debate on how to handle the layer of fat that covers one side of the brisket, many seasoned pitmasters will recommend trimming the fat to about 1/8” thickness prior to seasoning or marinating.
The reason for such a specific thickness is twofold:
- There is still enough fat to help moisturize the meat as it renders.
- The fat is thin enough that some seasoning and flavor will be able to penetrate it, and will shrink enough during cooking that you won’t need to remove it.
The debate on whether to cook a brisket fat side up or fat side down is an ongoing one, and probably always will be.
One reliable solution is to put your brisket on the pit fat side down, and flip it after it hits the stall and you’ve wrapped it.
The Stall
The characteristics that define the grade of a cut of meat are it’s age (because younger means more tender) and the amount of marbling.
That is important to us, because the amount of marbling dictates the amount of moisture. And the moisture in a brisket is the reason for wrapping it during the cooking process.
Why does moisture create a need to wrap the meat? Well, that is because the moisture is what leads to the infamous “Stall”.
When you are slow cooking a brisket, or anything, really, the heat source will slowly heat the meat, as well as the surrounding air inside your cooking appliance.
For the first several hours, the internal temperature of the meat will rise in a steady, predictable manner. That is, until it stops. Wait, what? What do you mean it stops?
At some point, usually around the 150o F mark (but sometimes not until closer to 170oF), the internal temperature will stall, or stop rising. This mystifying phenomenon can be frustrating, even terrifying.
You’ve already invested hours of your time, everything was going fine, and now, nothing. You may wonder if there’s something wrong with your grill or smoker. You may question your sanity.
And this can go on for up to five hours.
So, what is actually going on here? Evaporative cooling is what’s happening; quite literally, the “meat sweats”.
Evaporative cooling is a process where liquid, from a liquid/solid mass, goes through a phase change into gas or vapor, and removes energy (read: heat) from the mass.
This is just like when we are outside on a hot sunny day, and our bodies sweat to help us cool off.
As the brisket slow cooks, the fat melts and moisture is released. The ambient heat in the cooker causes this moisture to evaporate.
Between 150oF- 170o F, the rate of evaporation cools the surface of the meat faster than the internal temperature can rise. Which is why the internal temperature stops rising, and stalls, and may even fall a degree or two.
This continues until enough moisture has evaporated that the internal temperature can again overtake the evaporative cooling, and begin to rise once more. What is the solution to this hurdle? Wrapping the brisket.
The Advantage of Wrapping The Brisket
The main purpose why you should wrap your brisket is to prevent it from stalling, or should evaporation happen from the surface of the brisket that halts the cooking process.
To give a delicious look to your brisket, wrapping it gives you control of what the bark will look like. Wrapping helps lock in moisture to avoid a dry brisket when it is cooked.
Therefore, it is really necessary to wrap the brisket to make the meat juicy and tender.
To make the meat perfectly smoked, a great brisket has its fat and collagen broken down to have a fulfilling taste and hearty meal.
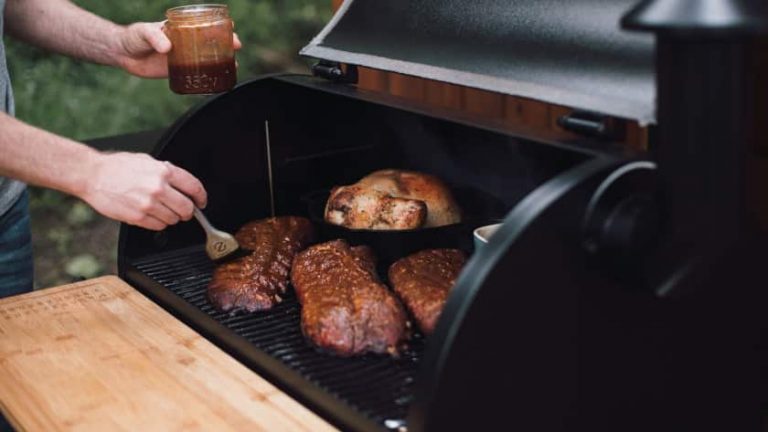
Wrap your brisket when its surface is already in a deep reddish-brown with a little black crust. Enjoy a meaty brisket when you wrap it as it is being smoked.
For smoking brisket in wood, the temperature range necessary should be around 225 to 275 degrees for about 4 hours. It is also always recommended to check on the softness of the meat even it is wrapped.
Wrapping the Brisket: The Texas Crutch
As maddening as the stall can be, it is no wonder that pitmasters everywhere out-smart it with a technique called the Texas Crutch. Although the actual origin of this technique is unknown, it is believed to have started in Texas.
This technique is very simple and straightforward. When the meat hits the stall, wrap it up. And wrap it tight. This will help power through the stall, keeping the internal temperature moving in the correct direction.
Using the Texas Crutch technique helps to speed up the cooking process, or at the least prevent it from slowing.
This is because the moisture is now contained completely, thus eliminating the evaporation that caused the problem in the first place.

Foil or Butcher Paper?
There are two ways to execute the Crutch, one is by using aluminum foil, the other is to use untreated butcher paper. Each has their own advantages.
When using foil, use heavy duty foil, and make sure it is wrapped very tightly. This will produce a moister finished product.
It will also make the outside crust, or “bark”, soften a bit in the process, but as long as you started out with a good bark in the first place, it’s really inconsequential. Using foil can reduce cooking time by up to 2 hours.
When using butcher paper, make sure it is untreated and has no coatings—and never use plastic wrap. Butcher paper will still let some moisture escape, which means the bark will retain more of its body.
Still, though, the paper will trap most of the rendered fat, and the results will be almost moist as when using foil. Using butcher paper can reduce cooking time by about 1 hour.
When To Wrap
It is unequivocally understood that the time to wrap your brisket (and turn it over!) is when it hits the stall. Some people will always wrap their brisket at 150o F, every single time.
Others say it’s better to watch the thermometer and wait until they can actually see that the temperature has stopped rising before they wrap.
If you want to make sure you achieve a nice, crusty bark, you will definitely want to make sure that you don’t wrap too early.
Instead, make sure that the temperature has actually stalled, and isn’t rising. On the other hand, if you are wanting a more intense smoke flavor and a heartier bark, it’s ok to wait a little longer before you wrap.
Recap
Just in case you missed it: Wrapping a brisket helps the meat power through the stall, allowing the internal temperature of the meat to continue to rise while also retaining more moisture.
This usually happens around 1500F, but can happen anywhere between 150oF and 170oF.
Wrap your brisket when it reaches that temperature range, and you notice the temperature stops rising at the rate it previously was.
Happy Eating!
Related Post To Consider
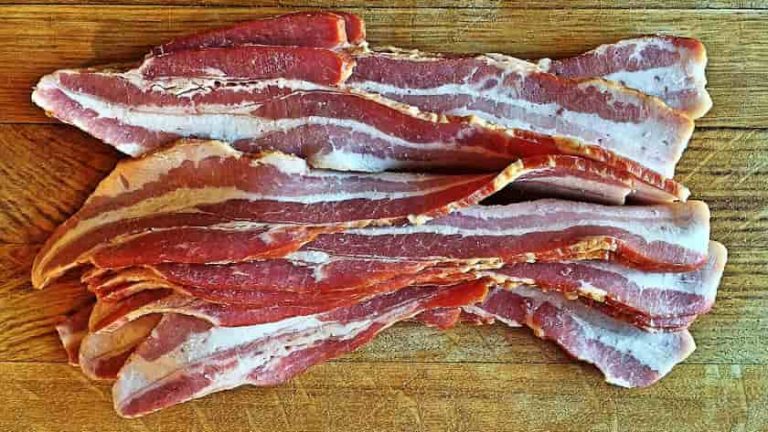
Is Your Bacon Ready to Eat? Try These 5 Assessment Approach
27 Cheap Grilling Ideas For This Summer – Budget BBQ Recipes
Does Power Smokeless Grill Really Work? Is It Worth It
Cast Iron vs Stainless Steel Grill Grates – Which is Better?